What if my Netlink does not get an IP address with the IPSetup tool?
If your Netlink does not get an IP address automatically when turning the unit on, most likely you do not have a DHCP server to assign the address. Most cable modems, DSL Modems and routers have a built in DHCP server, but it may not be turn on for a variety of reasons.
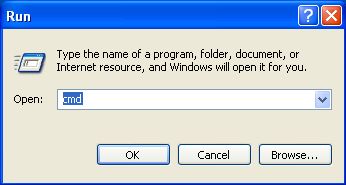
The IPSetup tool will allow you to assign your Netlink an IP address manually. First you will need to get an idea of your network settings. To do this, go to your “Start” button and then choose “Run”.

In the “Run” dialog box type “cmd”. Then hit the “OK” button.
This brings up the “Command Prompt”. At the Command Prompt type
“IPCONFIG /ALL then hit the Enter Key.
You will get a display similar to the one below. We are interested in the “Ethernet adapter Local Area Connection” settings.

As you can see in this case the IP address of this PC is 10.0.0.115. We want to pick an IP address for the Netlink, but it can not be the same as any other PCs on the network. Without knowing the address of the other PCs, we will have to guess. To play it safe, we will guess high. IP addresses are assigned sequentially, so if this PC is 10.0.0.115 and there are only 5 PCs on the network I would bet that 10.0.0.250 is not used.
Write down the “IP Address”, “Subnet Mask”, “Default Gateway”, “DHCP Server” and “DNS Servers”
Now open the IPSetup tool.
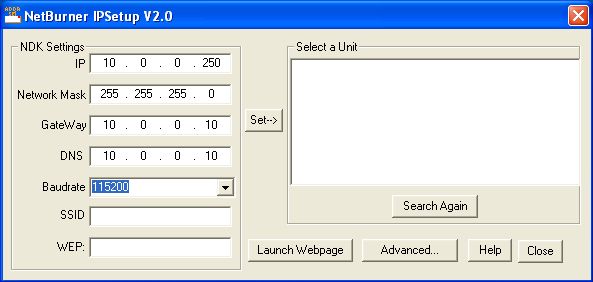
Enter the values you wrote down into the boxes provided. This picture does not show the Netlink in the “Select a Unit” box, but yours should. Select the unit and hit the “Set” button.
Remember the IP address you assign to the unit has to be different then your PC or any PC on the network, so if your IP is 192.168.1.5, use 192.168.1.250 for the Netlink. If you do assign the Netlink an IP that is in use on another PC, the PC with the conflict will tell you. Just try another IP address for the Netlink.